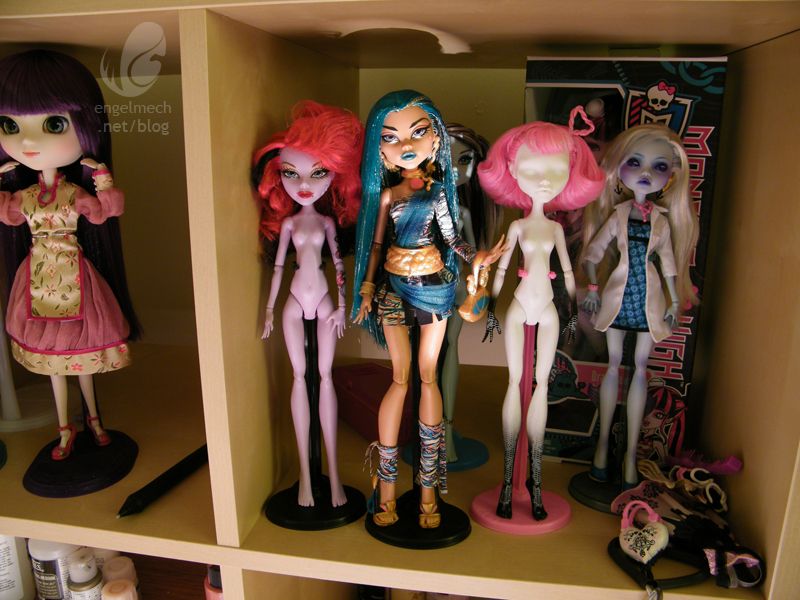
I scored some free time, and decided to paint one of my poor unfortunate naked dolls! Get ready for a lot of bad, under the lamp photos! Which one should it be…
Ahh yes, the white faceless one in the middle that looks like it should be in the basement of the serial killer from The Cell will do!
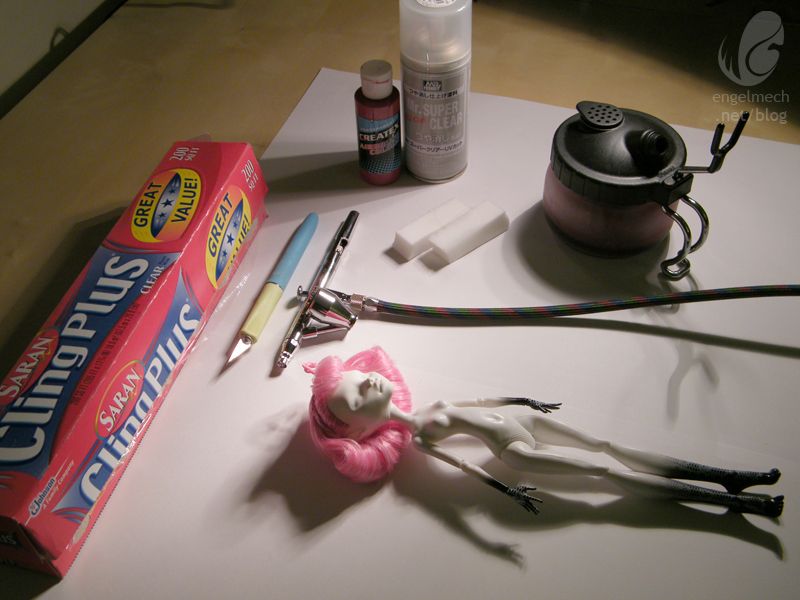
First is the airbrushing! I’ll only be working on the face this time, and one color, so this will be quick. Here’s most of the supplies I use: plastic wrap to keep the hair and body safe, paint and spray sealer (Mr Super Clear works great for soft vinyl), an exacto knife just in case a piece of dust gets stuck in the sealer, dry and damp blocks of Mr. Clean Magic Eraser, airbrush and airbrushing spraying/cleaning chamber. Not pictured is the air compressor, isotopic alcohol.
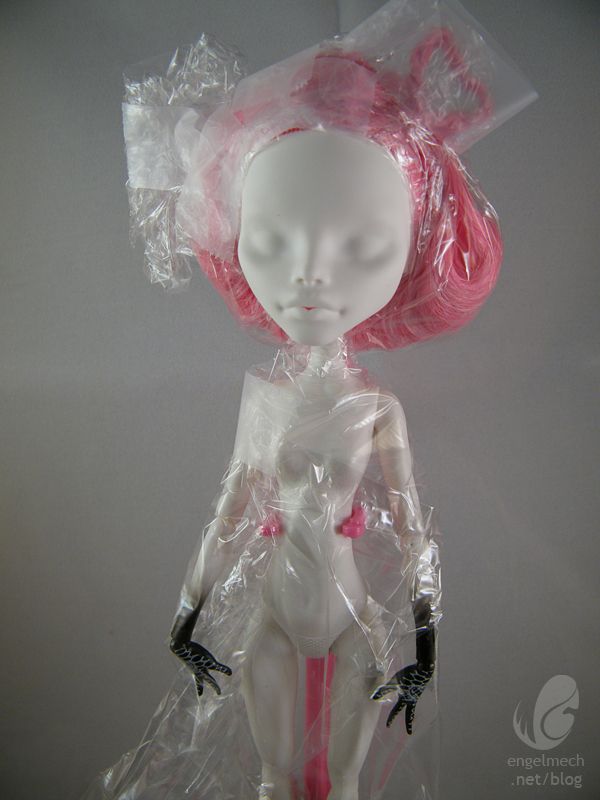
Wrappin’ her up! Don’t even wanna think about what those bangs are going to look like when I’m done.
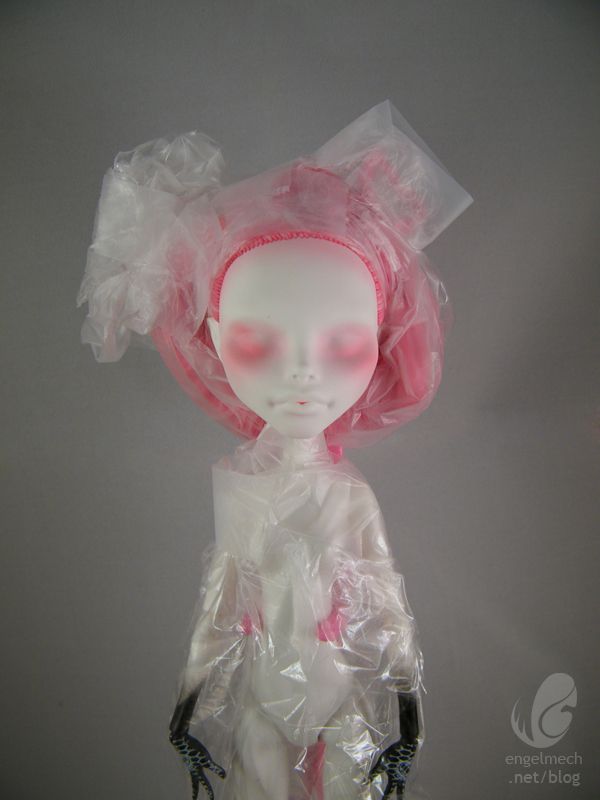
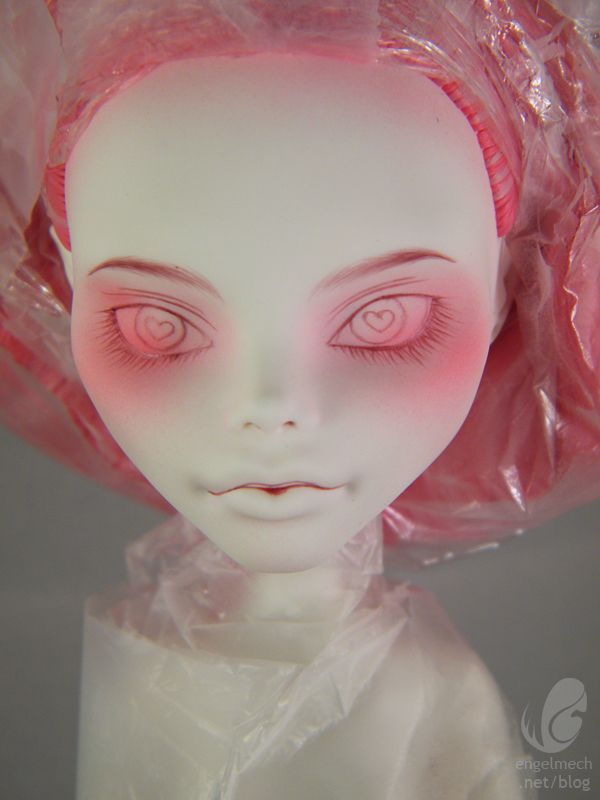
…aaand airbrushed. Airbrushing is a tricky, takes practice sort of thing. It would be easier to record than try to explain. For blushing, keep the airbrush a pretty good distance from the face, and pay close attention to where the color is building up. You could be thinking you’re painting one area, then out of the corner of your eye, it’s an area slightly skewed to the left or something.
Paint time!
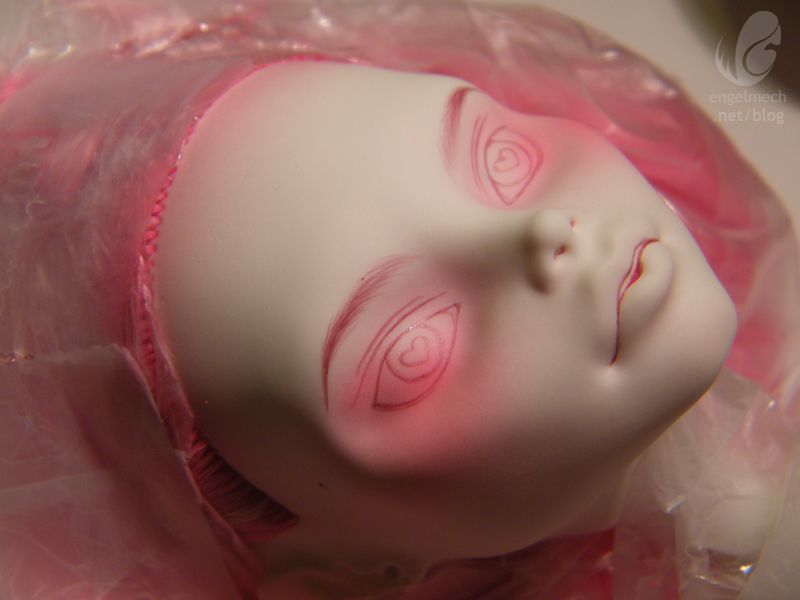
The first color is going to be for the outline and eyebrows. I use a good amount thinner and Slow Dry. I’ll be needing to add thinner throughout the process to keep it the same consistency.
Unless it’s black or another dark color, I almost always use the base eyebrow color for the outlines of the eye shapes and base lashes. For her I won’t even need anything more than a base color. I paint the brows from the outside tip going inward, so that I can get longer more tapered eyebrow hairs that become lighter as they go in.
Outlines and eyebrows done.
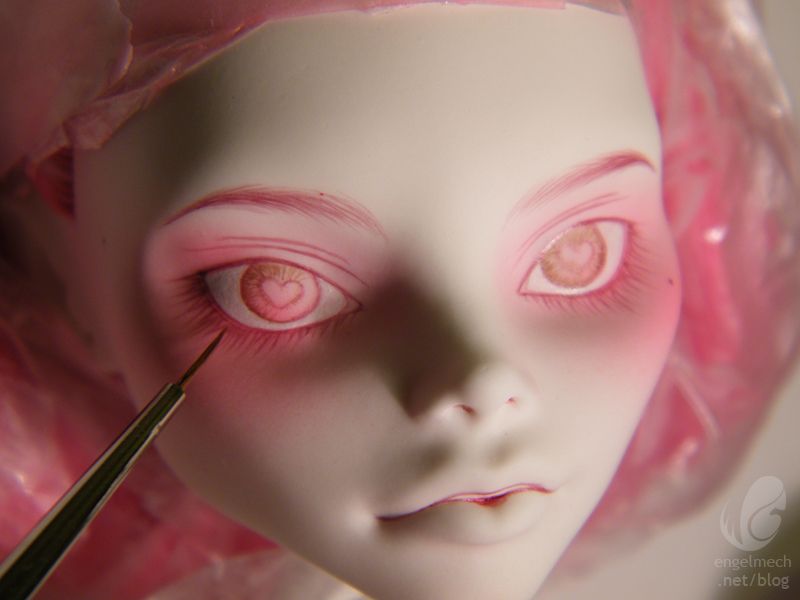
Now for the light brown parts of the iris. Lots and lots of lines, start from the outside and go in feathering towards the pupil.
Doing the same thing for the purple, only keeping it mostly concentrated at the top of the iris, while the rest of the eye gets it closer to the outsides. Also pupils!
Added whites shadows. Use a really thinned (but not watery, or else it’ll just bead up) color for this, and lots of layers.
Time for those upper lashes, long and feathery. I started with purple, then added black on top.
Black has been added to all of the lashes, and some of that really thin purple to the outside of the eyes to add some depth.
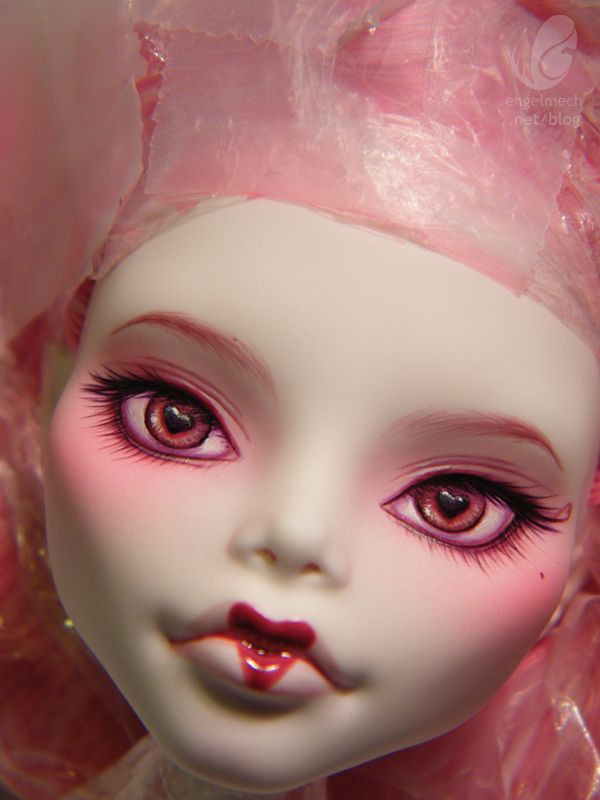
Let’s give those lips some love! (I’d say literally, but no) Super thinned pink for this, I only want a hint of lip color.
Starting with the lips-heart.
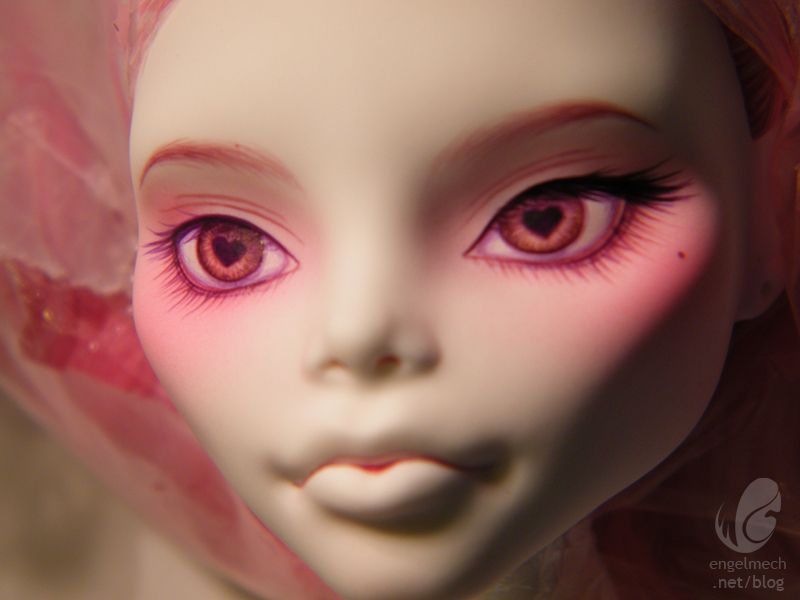
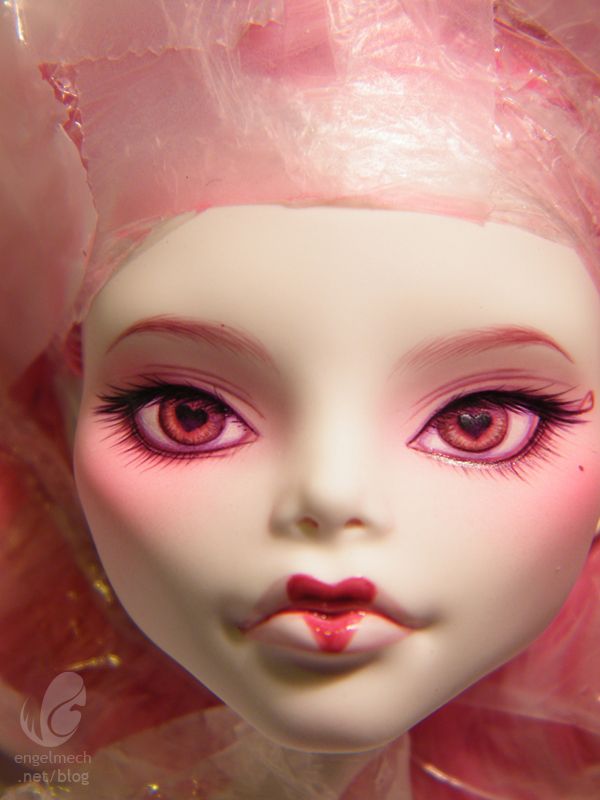
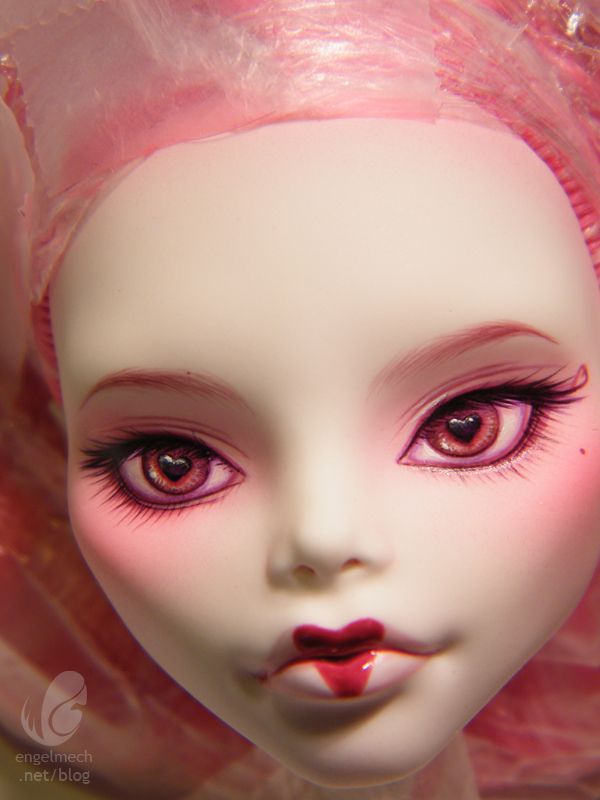
While waiting for the lips to dry, I start the highlights. A very light pink is stippled inside the middle ring of the iris, and thin lines are done on the insides of the lids. To really bring out her freaky heart shaped pupils, I gave them a shine.
Now some white, a very small amount of it. Some is dotted inside the light pink highlights and on top of the heart highlights. Adding a little bit right around the sides the outside of the iris makes the eyes pop.
A few last touch ups, and..
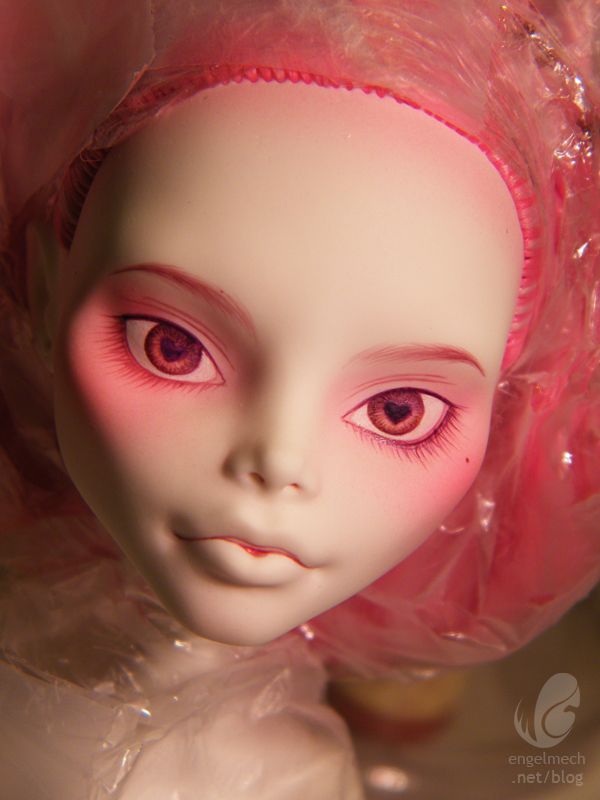
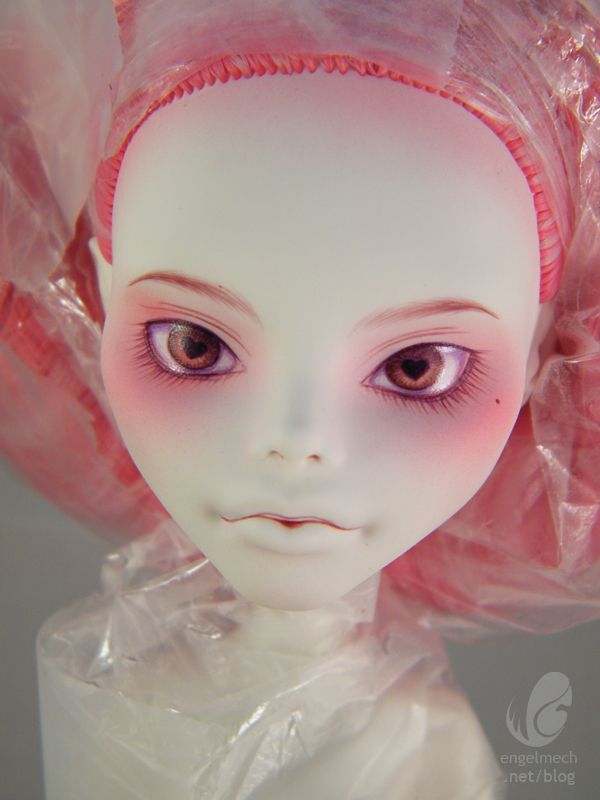
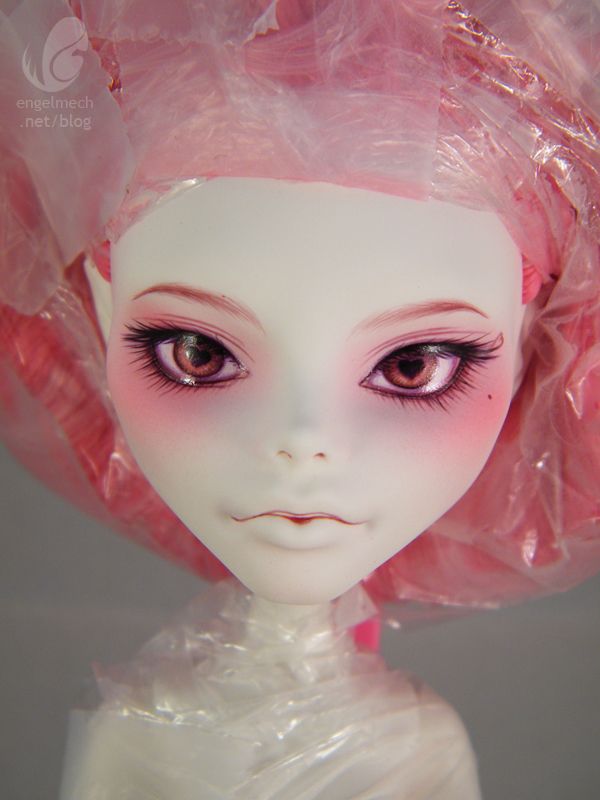
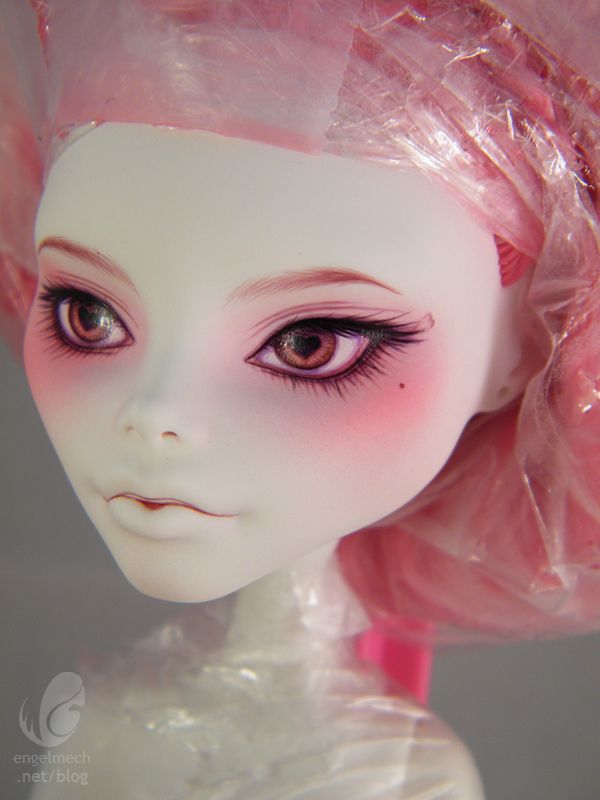
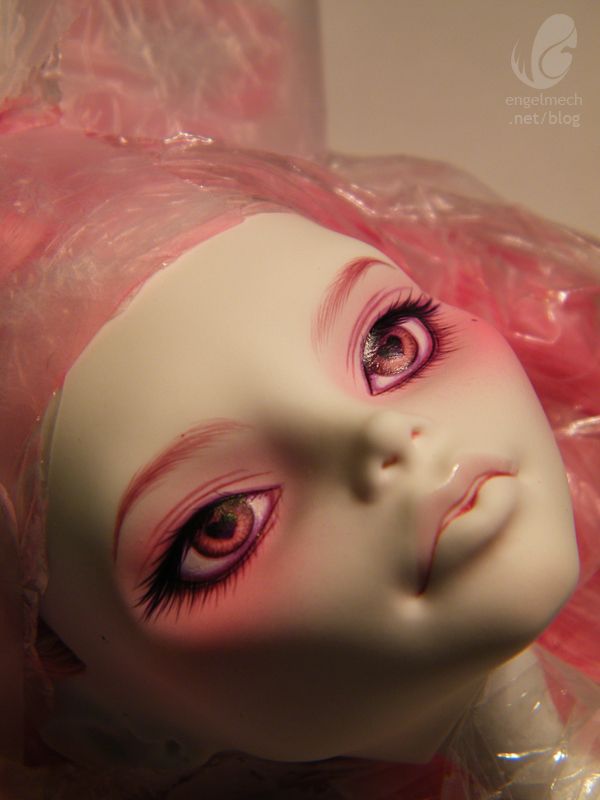
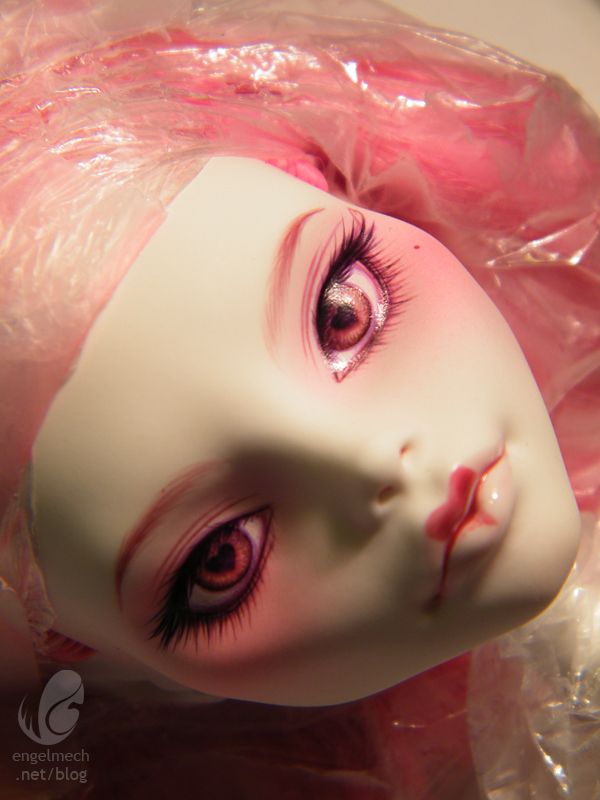
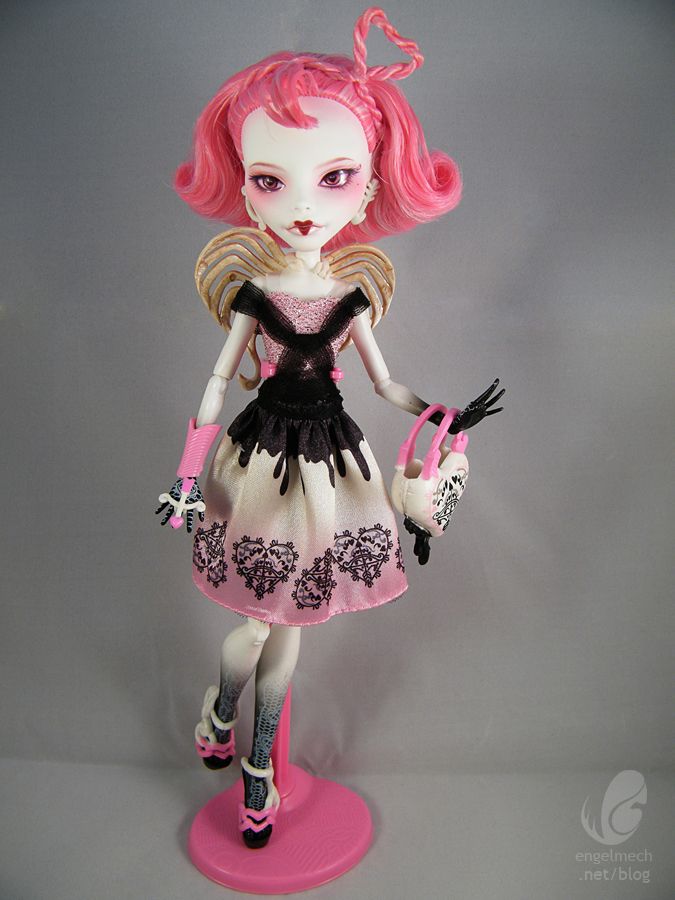
She’s done! Just barely dry, even!
Trying to get the angles with the least amount of glare is hard
Источник тут





Комментариев нет:
Отправить комментарий